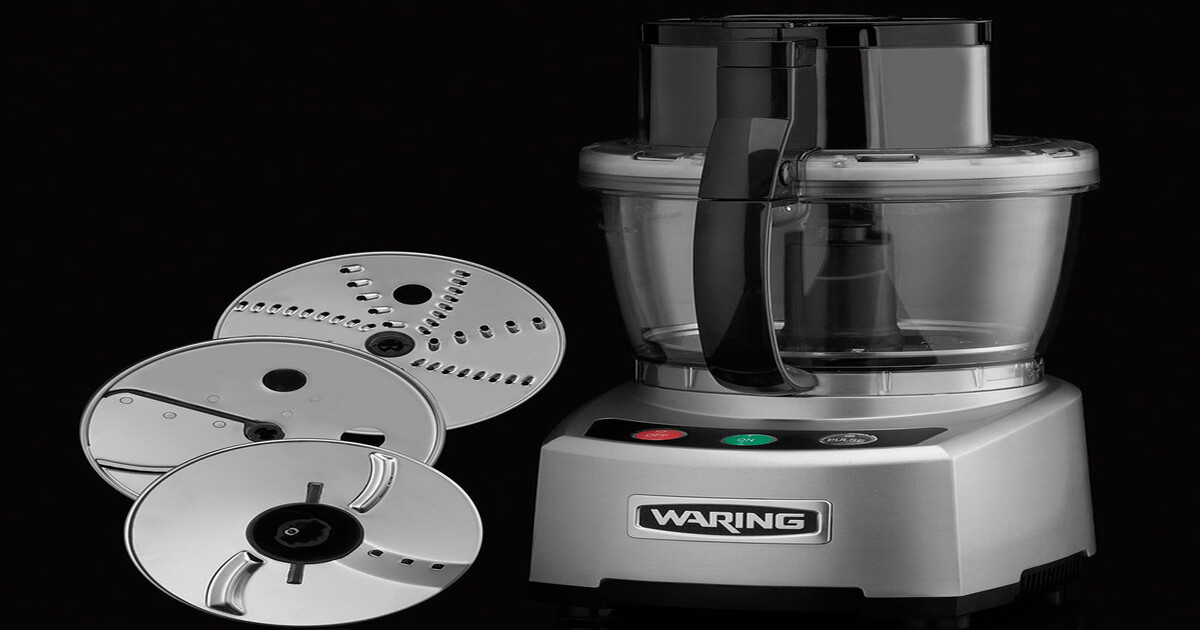
Are you wondering how to put the blade in food processor correctly? Whether you’re new to using a food processor or need a quick refresher, this easy-to-follow guide will help install the blade properly. Installing the blade safely ensures smooth operation, optimal performance, and the best results for chopping, blending, or slicing your ingredients.
Why Proper Blade Installation is Important for Your Food Processor
Proper blade installation is essential for several reasons:
- Safety: A poorly installed blade can result in injury. A secure blade minimizes the risk of accidents while using the food processor.
- Efficiency: When the blade is properly installed, you’ll get consistent results—chopping, shredding, or pureeing ingredients.
- Prevent Damage: Incorrect installation may cause harm to your food processor, particularly the blade or spindle.
Step-by-Step Guide on How to Install Blade in Food Processor
Step 1: Safety First – Prepare Your Food Processor
- Unplug the Processor: Before handling any parts of your food processor, make sure it is unplugged to prevent any accidents.
- Check the Blade and Bowl: Ensure that the blade is clean and free from food debris. Clean the bowl as well to ensure smooth installation.
Step 2: Attach the Food Processor Bowl
- Position the Bowl: Place the food processor bowl onto the base of the processor.
- Secure the Bowl: Turn the bowl clockwise until it locks into place. The bowl must be securely attached to the motor base for the food processor to function properly.
Step 3: Install the Blade
- Hold the Blade Correctly: Hold the blade by its plastic center or hub, avoiding the sharp edges to prevent injury.
- Align with the Spindle: Inside the bowl, locate the spindle (the central post). Align the hole in the center of the blade with this spindle.
- Press Down: Gently press the blade down onto the spindle until it’s securely seated. Depending on your model, you may need to twist the blade slightly to lock it in place.
Step 4: Verify Blade Security
- Spin the Blade: After installation, gently spin the blade with your hand (while being cautious of the sharp edges). The blade should stay securely in place without wobbling.
- Check for Alignment: Ensure that the blade is aligned properly with the bowl. If the blade looks misaligned or loose, remove it and repeat the installation steps.
Common Issues and Troubleshooting Tips
Blade Doesn’t Fit Properly?
- Ensure You’re Using the Right Blade: Different food processors may require different blades. Make sure you’re using the correct blade designed for your specific model.
- Clean the Spindle: Sometimes, food particles or debris can block the spindle, preventing the blade from fitting properly. Clean the spindle before attempting to install the blade again.
Food Processor Doesn’t Turn On?
- Check the Alignment: If your food processor doesn’t start, it’s likely because the bowl or blade isn’t properly aligned. Ensure the bowl is locked into place and the lid is secured.
Blade is Stuck?
- Don’t Force It: If the blade is stuck, try gently twisting and pulling it off. Never use excessive force, as this can damage the blade or the motor base. Clean the blade and spindle before trying again.
Tips for Specific Food Processor Models
Different food processor brands may have unique installation methods. Here’s how to handle blades in some popular brands:
- Cuisinart: Many Cuisinart models feature a universal spindle. Align the blade with the spindle and press down firmly until you hear a click.
- KitchenAid: For KitchenAid food processors, make sure the blade’s flat side faces the spindle’s groove to ensure proper installation.
- Ninja: Ninja food processors often use a stackable blade system. Ensure the stacked blades are correctly placed on the central post.
Maintenance Tips for Food Processor Blades
To keep your food processor blades in top condition:
- Clean After Each Use: Wash blades with warm, soapy water immediately after use to remove food debris and prevent build-up. Dry thoroughly to avoid rust.
- Sharpen Regularly: If your blade feels dull, sharpen it using a sharpening tool or take it to a professional. Sharpening maintains cutting efficiency.
- Store Safely: Use blade guards or safety covers to protect the blades and prevent accidental cuts. Avoid contact with other metal items that can dull the edge.
- Don’t Overload: Avoid overloading your processor to prevent strain on the blade and motor.
- Inspect for Damage: Check for cracks or chips regularly. Replace any damaged blades to maintain performance.
FAQs
1. How do I know if the blade is installed correctly?
Spin the blade gently after installation. If it’s securely in place, it won’t wobble or feel loose.
2. Can I install the blade without the bowl?
No, the blade must be installed in the bowl, which locks it in place and aligns it with the spindle.
3. What if the blade is stuck?
Try gently twisting and pulling it off. Clean the blade and spindle to remove any food debris that might be causing it to stick.
4. How can I avoid damaging the blade?
Handle the blade by the center, clean it after use, and store it safely.
5. Can I use any blade in my food processor?
No, use the blade designed for your specific food processor model for the best results.
Conclusion: Master Blade Installation for Better Results
Proper blade installation is a small step that can make a big difference in your food processor’s performance. By following the steps outlined in this guide on how to put blade in food processor, you can avoid common mistakes and enjoy safe, efficient use of your appliance. Whether you’re chopping, mixing, or pureeing, a securely installed blade will ensure your food processor works at its best.


